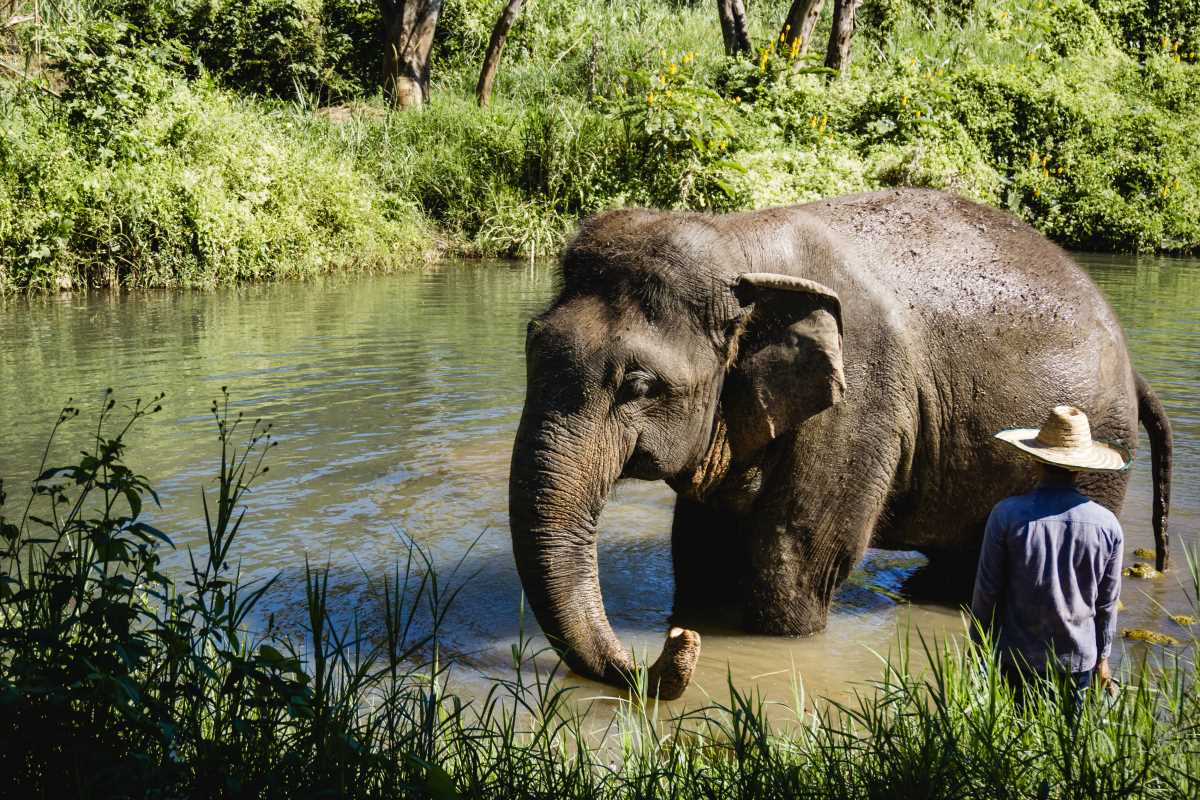
Wildlife photography is an incredibly rewarding hobby that combines a love for nature with a passion for capturing stunning visuals. Imagine freezing a bird mid-flight or capturing the soulful gaze of a fox in its natural habitat. It can seem like an intimidating craft to break into, but don’t worry—we’re here to help you get started.
With some basic tools, a bit of know-how, and a love for the outdoors, you’ll be well on your way to snapping breathtaking wildlife shots.
This guide will walk you through the essentials you need for a smooth introduction to wildlife photography, from selecting the right equipment to finding local wildlife and practicing ethical photography techniques. Whether you’re aiming for a new hobby or aspiring to build a portfolio, there’s no better time to begin your wildlife photography adventure.
Why Try Wildlife Photography?
Wildlife photography offers endless possibilities for personal growth, creativity, and connection to nature. It challenges you to see the beauty in simplicity, teaches patience, and allows you to observe wildlife in ways few people get to experience.
The great news is that you don’t need a professional-grade camera or an exotic location to get started. Even in your local park or backyard, there’s an abundance of fascinating creatures waiting to be photographed. With the right mindset and tools, you can turn a simple walk into an inspiring photoshoot.
Step 1: Choose Your Equipment Wisely
The first step in wildlife photography is ensuring you have the right gear. You don’t have to buy expensive, top-tier equipment to begin. Start small and upgrade as your skills and interest grow.
1. Cameras
For beginners, a DSLR or mirrorless camera is a great choice. These cameras allow you to manually adjust settings, giving you more control over your photos. Look for entry-level models like the Canon EOS Rebel series or Nikon’s D3500, which are user-friendly and versatile.
If you’re completely new to photography and unsure about investing in a camera, modern smartphones with advanced camera functionality can also work surprisingly well in certain situations.
2. Lenses
Wildlife photography often requires capturing subjects from a distance. A telephoto lens (with a focal length of at least 200mm) is a fantastic starting point for beginners. If you’re looking for an affordable option, a zoom lens like a 70-300mm can provide plenty of range for wildlife shots.
3. Accessories
Essential accessories can make your wildlife photography experience smoother:
- Tripod or Monopod: Helps stabilize your camera for sharp images, especially in low light.
- Camera Bag: Invest in a sturdy, padded bag to protect your gear.
- Memory Cards and Extra Batteries: Wildlife photography often involves long shoots, so having backups is crucial.
Step 2: Master the Basics of Photography
Understanding a few basic photography techniques will immediately improve your images, even as a beginner. Here are three essentials to focus on:
1. Lighting and Timing
Wildlife photography thrives on natural light. Early mornings and late afternoons, known as the “golden hours,” produce warm, soft lighting that enhances your photos. Middays often create harsh shadows, so avoid shooting during that time unless it’s overcast.
2. Composition
Composition is how you frame the subject in your shot. Here are some simple guidelines to start with:
- Rule of Thirds: Imagine your image divided into a grid of nine squares. Place your subject along the grid lines or at their intersections to create a balanced and pleasing composition.
- Space and Context: Leave negative space to highlight your subject or incorporate the environment to tell a story.
3. Camera Settings
Learn the basics of manual settings so you can adapt to different conditions:
- Shutter Speed: Use a fast shutter speed (e.g., 1/1000 seconds) to capture quick movements like flying birds.
- Aperture: Opt for a lower f-number (e.g., f/4) to blur the background and focus on your subject.
- ISO: Keep your ISO low for better image quality, but raise it in low-light conditions.
Step 3: Discover Local Wildlife Spots
You don’t need to travel to faraway locations to photograph incredible wildlife. Start with areas close to home where you’re likely to find a variety of animals. Some ideas include:
- Your local park or nature reserve
- Hiking trails
- Wetlands and ponds for bird species
- Your own backyard, which may attract insects, small mammals, or birds
Spend time observing the habits of local wildlife, their activity patterns, and hang-out spots. This will help you anticipate moments and position yourself for the best shots.
Step 4: Practice Patience and Ethical Photography
Wildlife photography isn’t just about the perfect shot; it’s also about showing respect for the animals and their environment. Practicing ethical behavior ensures both safety—for you and the wildlife.
- 1. Be Patient: Wildlife photography often involves waiting, sometimes for hours. Bring a snack, stay comfortable, and enjoy the process. The most stunning shots often require persistence and careful timing.
- 2. Respect Nature: Avoid interrupting the animals’ natural behaviors or intruding on their habitat. Give them plenty of space and never use bait to lure them closer, as this can harm their health or disrupt their ecosystem.
- 3. Leave No Trace: Follow the principle of leaving no trace. Avoid causing damage to the natural area you’re exploring; leave it exactly as you found it.
Step 5: Learn and Connect
Starting out can feel challenging, but wildlife photography is a highly supportive and inspiring community. There are plenty of opportunities to learn and connect with others through:
- Online Tutorials and Blogs: Websites like YouTube offer free resources for beginners, including step-by-step guides and tips.
- Photography Groups: Many local organizations host meetups or photography tours. These are great spaces to learn, ask questions, and share your work.
- Workshops and Courses: Photography retailers, outdoor recreation centers, and wildlife sanctuaries often offer beginner courses tailored to wildlife photography.
Step 6: Practice Anywhere
You don’t always have to be in the wilderness to find subjects. Visit a local zoo or wildlife park to practice focusing on animals in motion. While zoos may not offer completely natural settings, they’re a great place to hone your technical skills.
Remember, it’s not about perfect photos right away. Wildlife photography is as much about the joy of exploring and observing as it is about the final shot. Whether you’re capturing butterflies in your backyard or photographing deer on a forest trail, every click of the shutter brings you closer to mastering the craft.
 (Image via


