 (Image via
Imagine melting wax, selecting your favorite scents, and watching as a beautiful, custom candle takes shape before your eyes. Candle-making combines creativity, relaxation, and a touch of magic, making it the perfect hobby for anyone looking to unwind and create something meaningful.
Candle-making doesn’t require advanced skills or expensive tools, making it an accessible and beginner-friendly way to explore your artistic side. Whether you’re crafting soothing lavender-scented candles for your bedroom, playful colorful designs for your living room, or thoughtful handmade gifts for loved ones, this hobby allows for endless customization and personal expression.
If you’ve been searching for a creative escape, look no further. This guide will walk you through the basics of candle-making, from materials and techniques to tips for adding your own personal flair.
Why Candle-Making Is the Perfect Creative Hobby
Candle-making is more than just an artistic pastime; it’s a therapeutic escape. The process of melting, pouring, and crafting your candles can be surprisingly meditative, allowing you to focus on each step and leave behind the stresses of daily life.
Plus, candles are inherently functional. Unlike some creative hobbies that only result in decorative pieces, candle-making produces useful creations that fill your home with warmth and ambiance. It’s hard not to feel a sense of pride when you light a candle you’ve personally made, especially if it reflects your personal style or favorite scents.
Another great perk? Candle-making opens the door to limitless creativity. Whether you prefer minimalist designs or bold, vibrant colors, you can adapt every aspect of the candle-making process to suit your preferences. The possibilities are as endless as your imagination.
Step 1: Picking Your Materials
Starting with the right materials is key to a smooth and enjoyable candle-making experience. Here’s what you’ll need:
1. Wax
Wax forms the base of any candle, and there are several types to choose from depending on your goals and preferences.
- Soy Wax: Eco-friendly and beginner-friendly, soy wax melts at a lower temperature, making it safer to handle.
- Paraffin Wax: A traditional option that holds color and scent well. It’s affordable but less environmentally friendly.
- Beeswax: Known for its natural, honey-like scent and golden hue, beeswax is a luxurious choice.
- Gel Wax: A unique option for making translucent candles or embedding decorative items like shells or flowers.
2. Wicks
The wick is what makes your candle burn properly, so choosing the right one is important. When in doubt, consult the manufacturer’s guidelines for wick recommendations based on the size and type of your candle. Cotton wicks are common and easy to use.
3. Scents and Fragrances
Part of the joy of candle-making is choosing your favorite scents to infuse into your creations. Use essential oils or fragrance oils designed for candle use. Popular scents include lavender, vanilla, eucalyptus, or seasonal favorites like pumpkin spice.
4. Containers and Molds
For container candles, any heat-resistant vessel can work, such as mason jars, tins, or glass cups. Alternatively, silicone molds allow you to make free-standing candles in shapes like hearts, stars, or geometric forms.
5. Add-Ons for Decoration
Personalize your candles with dyes, glitter, pressed flowers, or even decorative ribbons for wrapping.
Step 2: Mastering Basic Candle-Making
Now that you’ve gathered your materials, it’s time to get hands-on. Here’s a step-by-step guide to making a beginner-friendly container candle.
1. Melt the Wax
Using a heat-safe container or double boiler, gently melt your chosen wax over low to medium heat. Avoid rushing the process to prevent overheating.
2. Add Color and Scent
Once your wax is fully melted, you can mix in dye for color or fragrance oil for scent. Start with small amounts and adjust as needed. A general rule is to use about 1 ounce of fragrance per pound of wax, but check the instructions on your fragrance oil for precision.
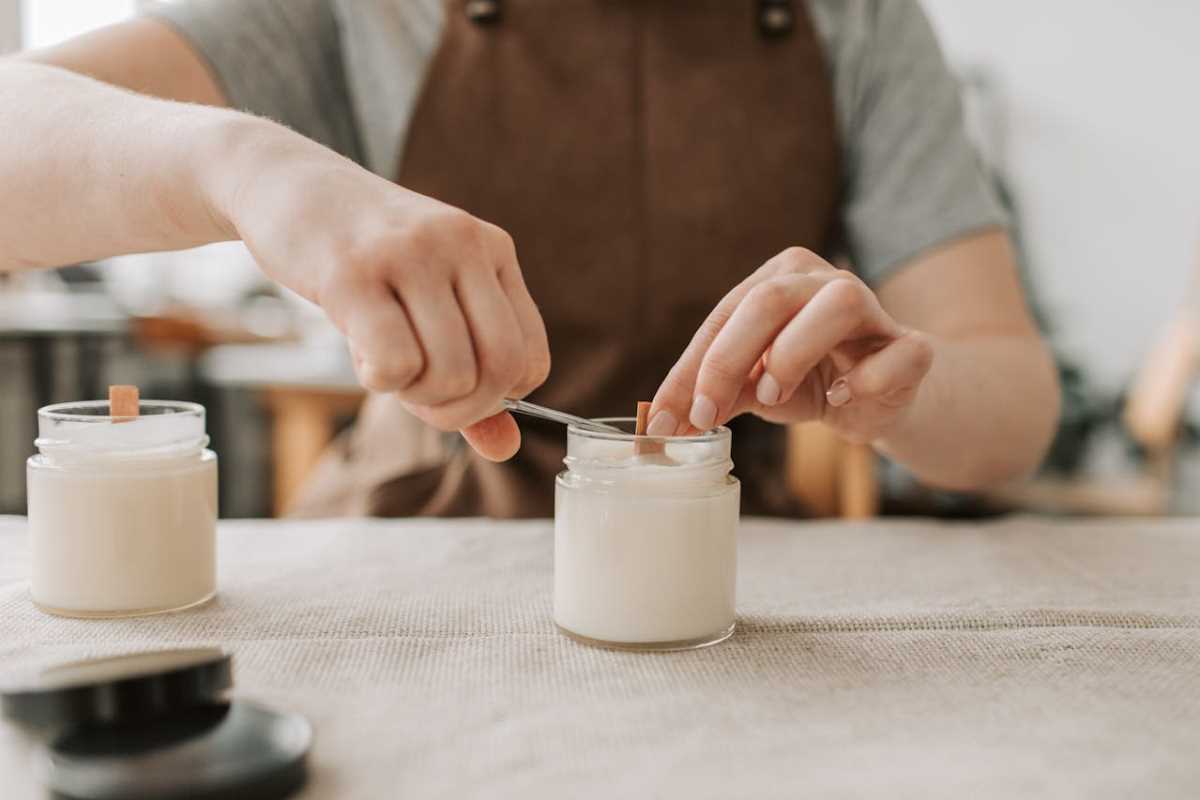
3. Prepare the Container
Secure the wick in the center of your container using adhesive or a dab of melted wax. Wrap the top of the wick around a skewer or pencil to keep it straight while pouring.
4. Pour the Wax
Slowly and carefully pour the melted wax into your prepared container, stopping just below the rim. Let the candle cool and solidify for a few hours.
5. Trim the Wick
Once your candle has set, trim the wick to about ¼ inch to ensure a clean and safe burn.
And voilà! You’ve made your first candle.
Step 3: Get Creative with Personalization
Once you’ve got the basics down, it’s time to infuse your personal style into each candle. Here are some fun ways to elevate your creations:
- Layered Colors: Pour wax in different shades in layers for a bold, striped look.
- Embedded Elements: Add dried flowers, small crystals, or other decorations to make your candle visually striking.
- Themed Scents: Match colors and fragrances to a theme, like a beach-inspired candle with blue dye and ocean-scented oil.
- Custom Labels: Design personalized tags or labels to give your candles a professional touch, especially if you’re gifting them.
The Benefits of Candle-Making
Beyond its creative joy, candle-making provides a host of therapeutic benefits. The rhythmic process of melting and pouring is deeply calming, offering an excellent outlet for stress relief. Plus, focusing on a creative task can help clear your mind and enhance your sense of well-being.
For many, candle-making doubles as a form of self-care. The scents you choose can create a soothing atmosphere, while the act of crafting helps you feel accomplished and connected to your creative side.
Resources to Get Started
If you’d like to learn more or enhance your skills, the following resources can be invaluable for beginners:
- Online Tutorials: Platforms like YouTube and Pinterest offer video guides and inspiration for every level of candle-maker.
- Craft Stores: Many local shops or chain retailers like Michaels host candle-making workshops.
- Starter Kits: Purchase a complete candle-making kit with all the materials you need to get started.
Why not give it a try? Gather your supplies, pick your favorite scents and colors, and enjoy the therapeutic joy of candle-making. Before long, you might just find yourself hooked on this warm and wonderful hobby.